Setting Up Your Perfect Python Development Environment in PyCharm
Creating an efficient Python development environment is crucial for productivity and code quality. PyCharm, developed by JetBrains, offers powerful tools and features that can significantly enhance your development workflow. This comprehensive guide will walk you through setting up PyCharm to match your preferences and team standards.
Installing PyCharm
Before diving into configuration, ensure you have PyCharm installed on your system. JetBrains offers two editions: the Professional edition with full features and the free Community edition that covers most Python development needs.
Pro Tip: If you're a student or educator, you can get the Professional edition for free through the JetBrains Educational License program.
Configuring Virtual Environments
Virtual environments are essential for managing project dependencies and avoiding conflicts between different Python projects. PyCharm makes working with virtual environments seamless.
Creating a New Virtual Environment
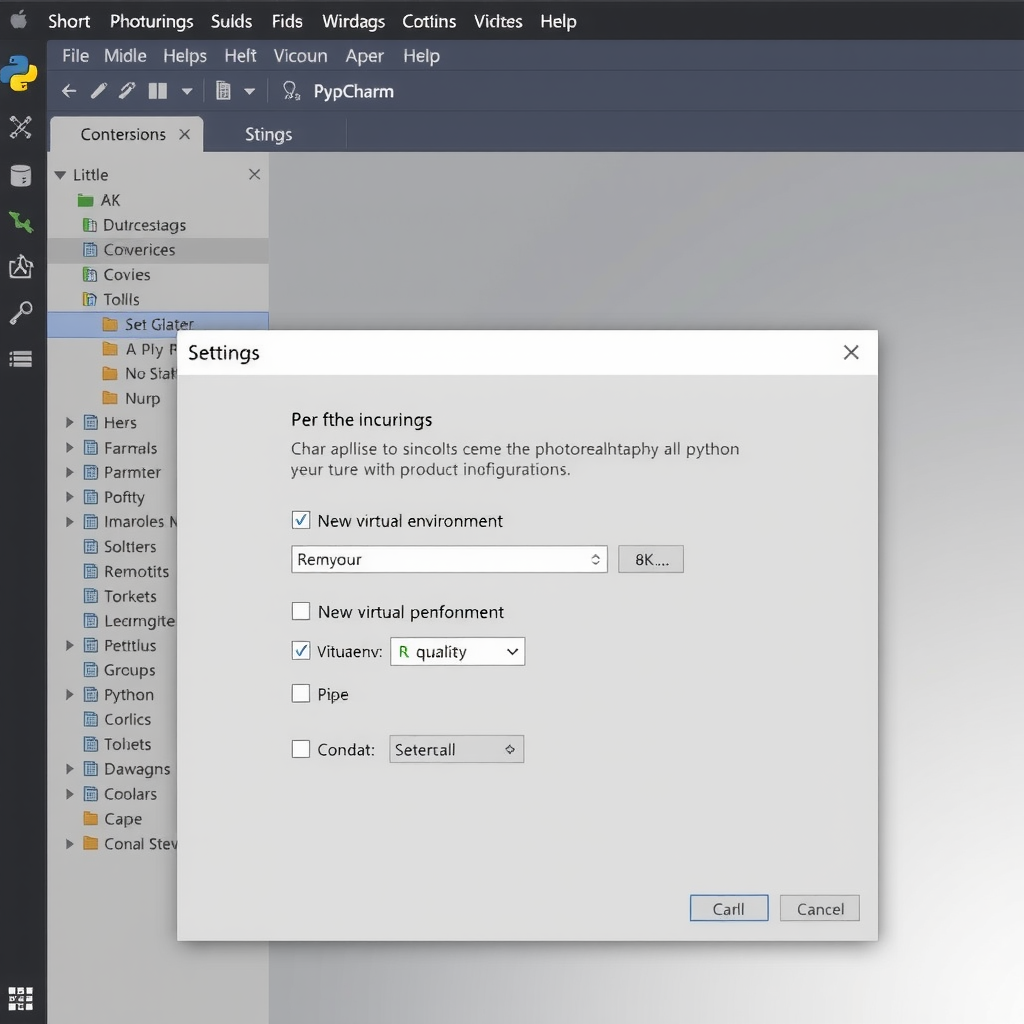
- Navigate to File → Settings → Project → Python Interpreter
- Click the gear icon and select Add
- Choose Virtualenv Environment from the left panel
- Select New environment and specify the location
- Choose your base Python interpreter
- Click OK to create the environment
PyCharm will automatically activate this virtual environment for your project, ensuring all package installations and Python executions use the isolated environment.
Using Existing Virtual Environments
If you already have a virtual environment created outside PyCharm, you can easily integrate it:
# Create virtual environment via command line
python -m venv myproject_env

# Activate on Windows
myproject_env\Scripts\activate

# Activate on macOS/Linux
source myproject_env/bin/activate
Then in PyCharm, select Existing environment and browse to the Python executable within your virtual environment directory.
Integrating Version Control
PyCharm provides excellent Git integration that streamlines your version control workflow. Setting it up properly from the start will save you countless hours.
Enabling Git in Your Project
- Go to VCS → Enable Version Control Integration
- Select Git from the dropdown menu
- PyCharm will initialize a Git repository in your project directory
Configuring Git Settings
Navigate to File → Settings → Version Control → Git to configure:
- Path to Git executable: Ensure PyCharm can locate your Git installation
- Update method: Choose between merge or rebase for pulling changes
- Protected branches: Specify branches that require extra confirmation before pushing
Setting Up .gitignore
PyCharm can automatically generate a comprehensive .gitignore file for Python projects. Right-click on your project root, select New → File, name it .gitignore, and PyCharm will suggest adding common Python patterns:
# Python
__pycache__/
*.py[cod]
*$py.class
*.so
.Python
env/
venv/
.venv/

# PyCharm
.idea/
*.iml

# Testing
.pytest_cache/
.coverage
htmlcov/

# Distribution
dist/
build/
*.egg-info/
Configuring Code Quality Tools
Maintaining code quality is essential for professional Python development. PyCharm integrates seamlessly with popular linters and formatters.
Setting Up Black Formatter
Black is an opinionated code formatter that ensures consistent code style across your project. To integrate it with PyCharm:
- Install Black in your virtual environment:
pip install black - Go to File → Settings → Tools → External Tools
- Click the + button to add a new tool
- Configure the tool with these settings:
- Name:
Black - Program:
$PyInterpreterDirectory$/black - Arguments:
$FilePath$ - Working directory:
$ProjectFileDir$
- Name:
Configuring Pylint
Pylint is a comprehensive Python linter that checks for errors, enforces coding standards, and suggests refactoring opportunities:
- Install Pylint:
pip install pylint - Navigate to File → Settings → Editor → Inspections
- Search for Pylint and enable it
- Configure the path to your Pylint executable
- Customize inspection severity levels according to your team's standards
Setting Up Flake8
Flake8 combines PyFlakes, pycodestyle, and McCabe complexity checker for comprehensive code analysis:
# Install Flake8
pip install flake8

# Create .flake8 configuration file in project root
[flake8]
max-line-length = 88
extend-ignore = E203, W503
exclude = .git,__pycache__,venv
PyCharm will automatically detect the .flake8 configuration file and apply these settings to your project inspections.
Customizing the IDE Interface
PyCharm offers extensive customization options to create a development environment that matches your workflow preferences.
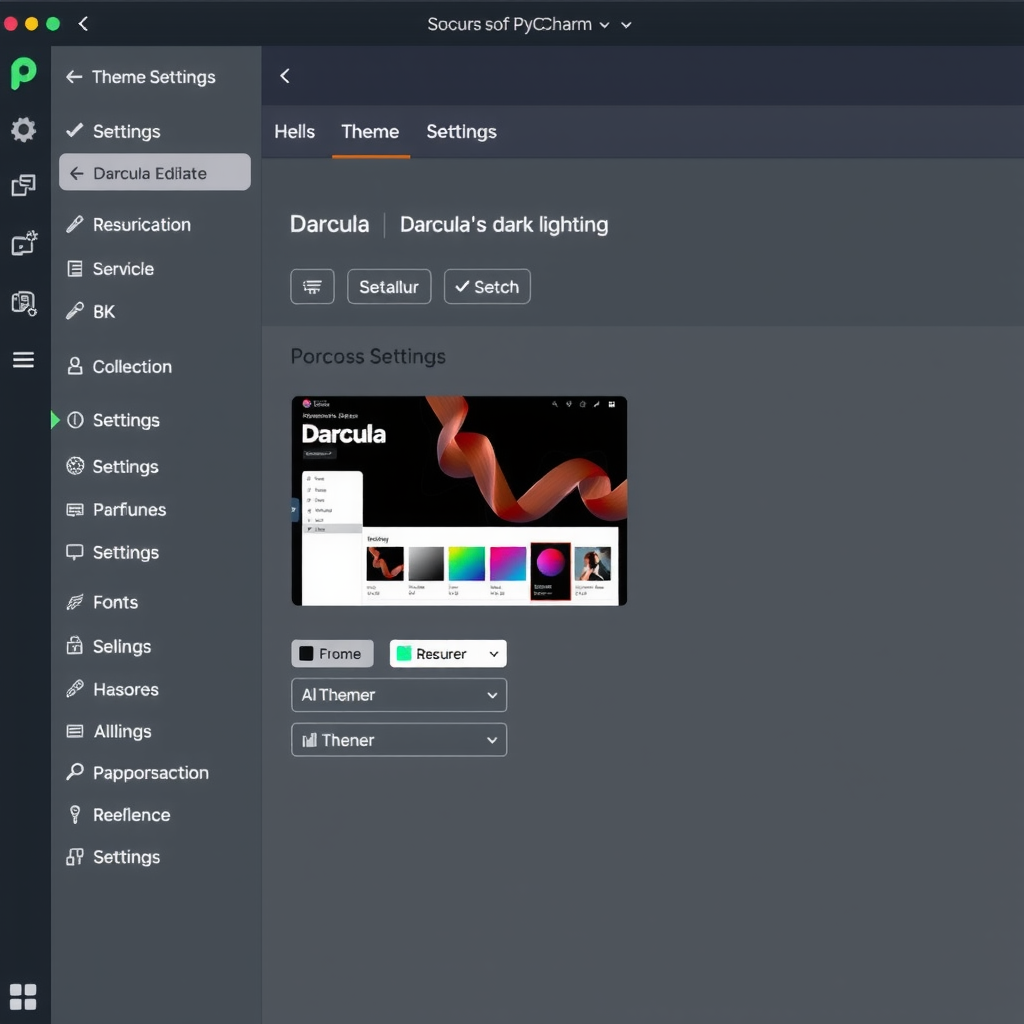
Choosing a Theme
Navigate to File → Settings → Appearance & Behavior → Appearance to select your preferred theme. PyCharm includes several built-in themes:
- Darcula: The classic dark theme with excellent contrast
- IntelliJ Light: A clean, bright theme for well-lit environments
- High Contrast: Enhanced visibility for accessibility needs
Configuring Editor Settings
Fine-tune your editor experience in File → Settings → Editor:
- Font: Choose a monospace font like JetBrains Mono, Fira Code, or Consolas
- Font Size: Adjust for comfortable reading (typically 12-14pt)
- Line Spacing: Increase for better readability (1.2-1.4)
- Show Line Numbers: Enable for easier navigation
- Show Whitespaces: Helpful for maintaining consistent formatting
Keyboard Shortcuts
Mastering keyboard shortcuts dramatically improves productivity. Access the keymap in File → Settings → Keymap. Essential shortcuts include:
Setting Up Testing Frameworks
PyCharm provides excellent support for Python testing frameworks, making it easy to write, run, and debug tests.
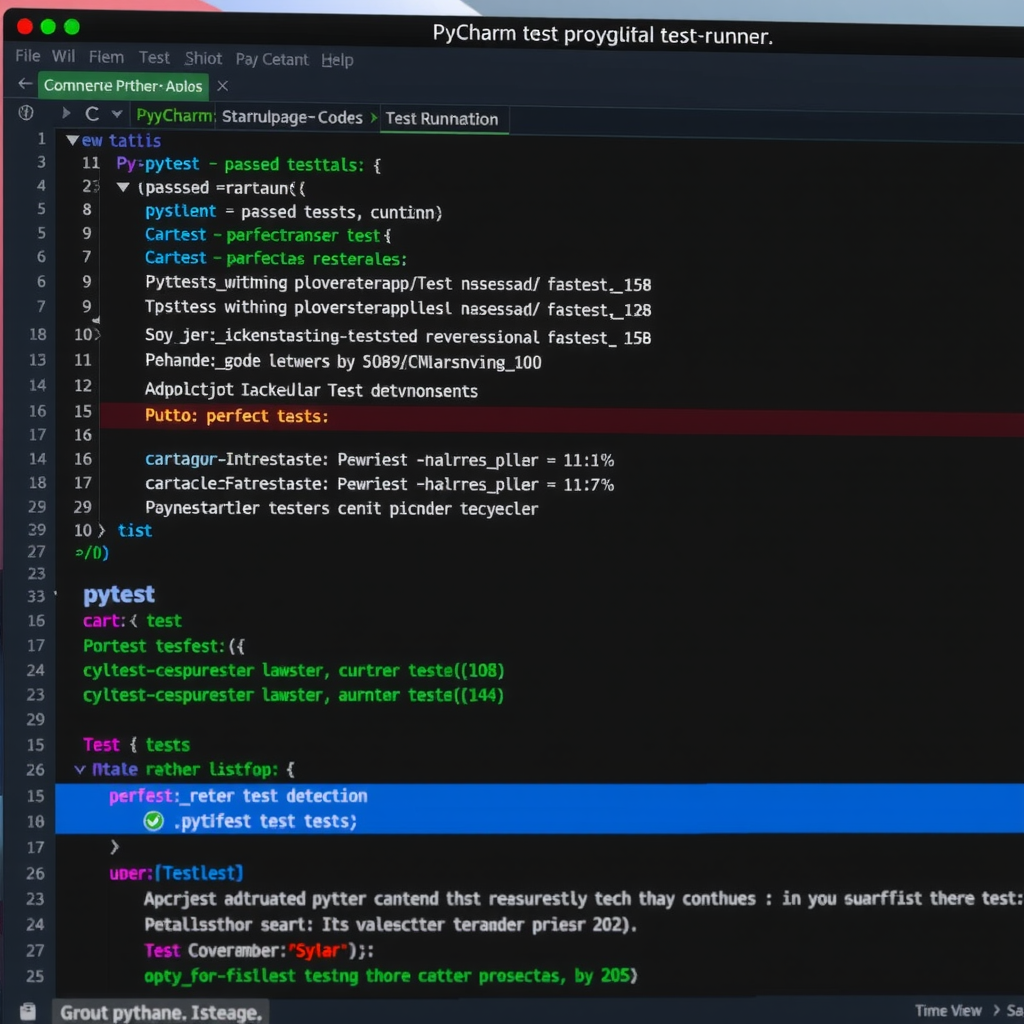
Configuring pytest
pytest is a popular testing framework that PyCharm supports natively:
- Install pytest:
pip install pytest - Go to File → Settings → Tools → Python Integrated Tools
- Set Default test runner to pytest
- PyCharm will now recognize test files and provide run configurations automatically
Enabling Code Coverage
Track which parts of your code are covered by tests:
- Install coverage.py:
pip install coverage - Right-click on your test file or directory
- Select Run with Coverage
- PyCharm will display coverage percentages and highlight uncovered lines in the editor
Optimizing Performance Settings
For large projects, optimizing PyCharm's performance ensures smooth operation.
Increasing Memory Allocation
Navigate to Help → Change Memory Settings and increase the heap size based on your system's available RAM. For large projects, 4GB or more is recommended.
Excluding Directories from Indexing
Exclude directories that don't need to be indexed to improve performance:
- Right-click on directories like
venv,node_modules, orbuild - Select Mark Directory as → Excluded
- PyCharm will skip these directories during indexing and searching
Team Collaboration Settings
When working in a team, maintaining consistent settings across all developers is crucial.
Sharing Code Style Settings
PyCharm allows you to export and share code style configurations:
- Configure your code style in File → Settings → Editor → Code Style → Python
- Click the gear icon and select Export → EditorConfig file
- Commit the generated
.editorconfigfile to version control - Team members will automatically use these settings when they open the project
Version Control Settings
Configure which PyCharm settings should be shared via version control:
# .gitignore for PyCharm
.idea/*
!.idea/codeStyles/
!.idea/inspectionProfiles/
!.idea/runConfigurations/
!.idea/vcs.xml
This configuration shares code styles, inspection profiles, and run configurations while keeping personal settings local.
Advanced Configuration Tips
Database Tools Integration
PyCharm Professional includes powerful database tools. Connect to your databases through View → Tool Windows → Database to query, edit, and manage data directly from the IDE.
Docker Integration
Configure Docker support in File → Settings → Build, Execution, Deployment → Docker to run and debug Python applications in containers directly from PyCharm.
Remote Development
Set up remote interpreters to develop on remote servers or virtual machines while using PyCharm locally. This is particularly useful for working with powerful remote hardware or specific server environments.
Conclusion
Setting up PyCharm properly from the start creates a solid foundation for productive Python development. By configuring virtual environments, integrating version control, setting up code quality tools, and customizing the interface to match your workflow, you'll be able to focus on writing great code rather than fighting with your tools.
Remember that your development environment should evolve with your needs. Regularly review and adjust your PyCharm configuration as you discover new features and workflows. The time invested in optimizing your setup pays dividends in increased productivity and code quality.
Next Steps: Explore PyCharm's extensive plugin ecosystem to further enhance your development experience. Popular plugins include Material Theme UI for additional themes, Rainbow Brackets for better code visualization, and Key Promoter X to help you learn keyboard shortcuts.